There aren’t many harvest jobs on our farm that are messier than processing fresh black walnuts.
Picking them up is the easy part.
The real work begins once you have a bucket full sitting in front of you.
If you’ve never handled fresh black walnuts before, one thing becomes obvious almost immediately.
Those green hulls stain everything.
Your hands.
Your gloves.
Your clothes.
Even your driveway if you’re not careful.
After processing black walnuts ourselves, I’ve learned a few things that make the job easier and a lot less frustrating.
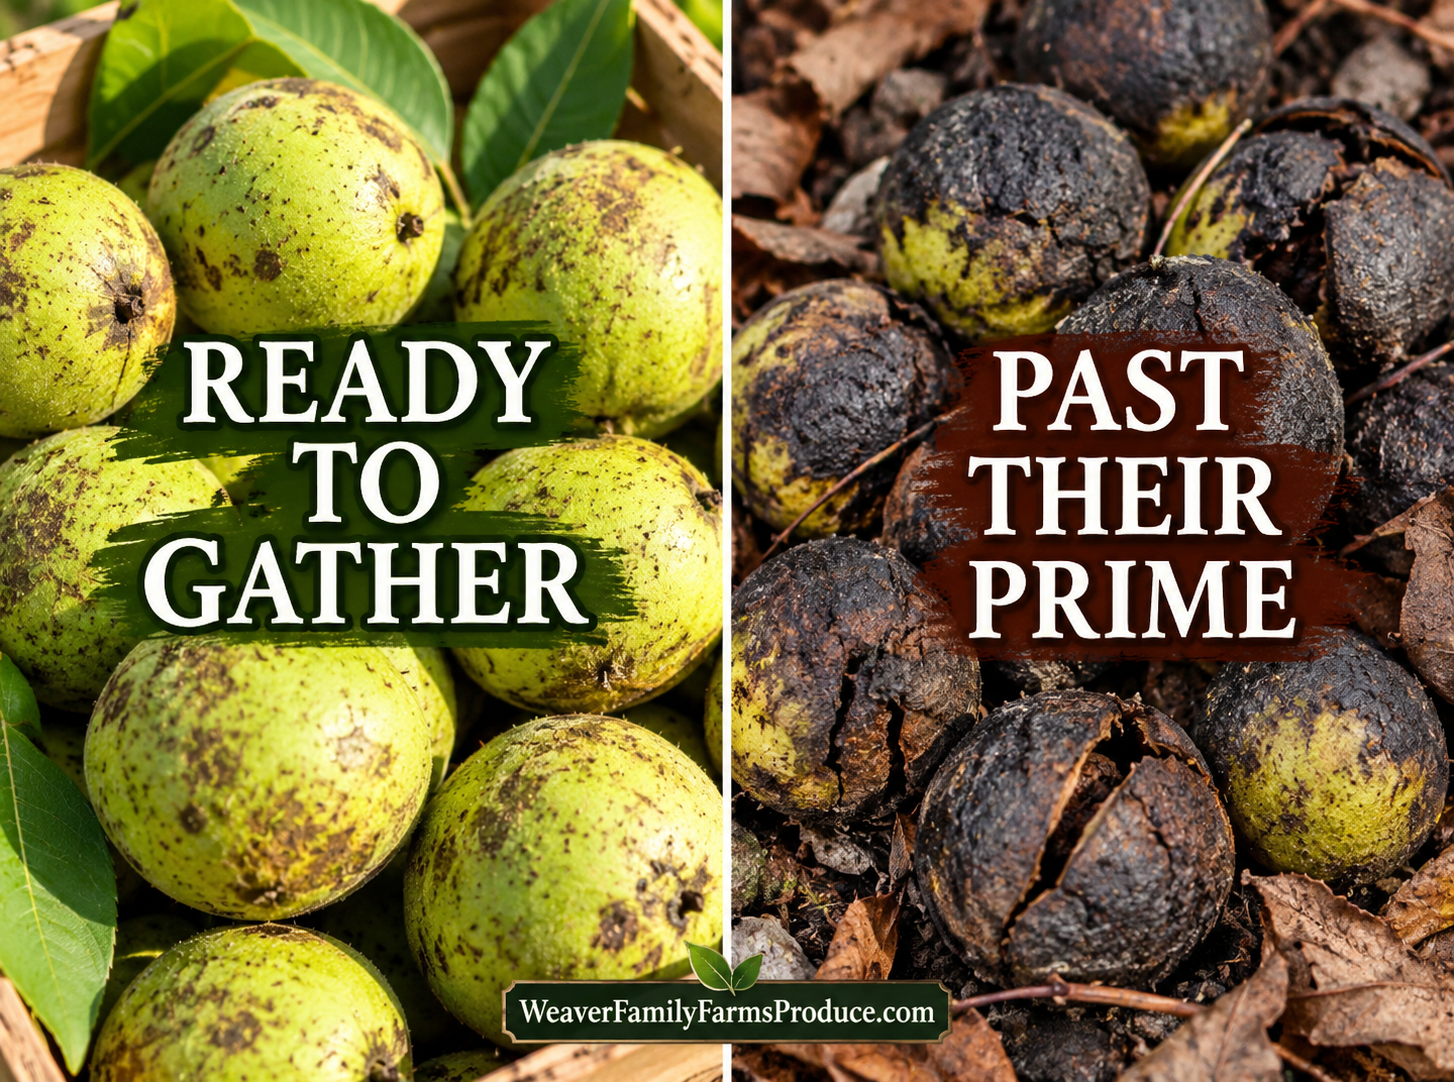
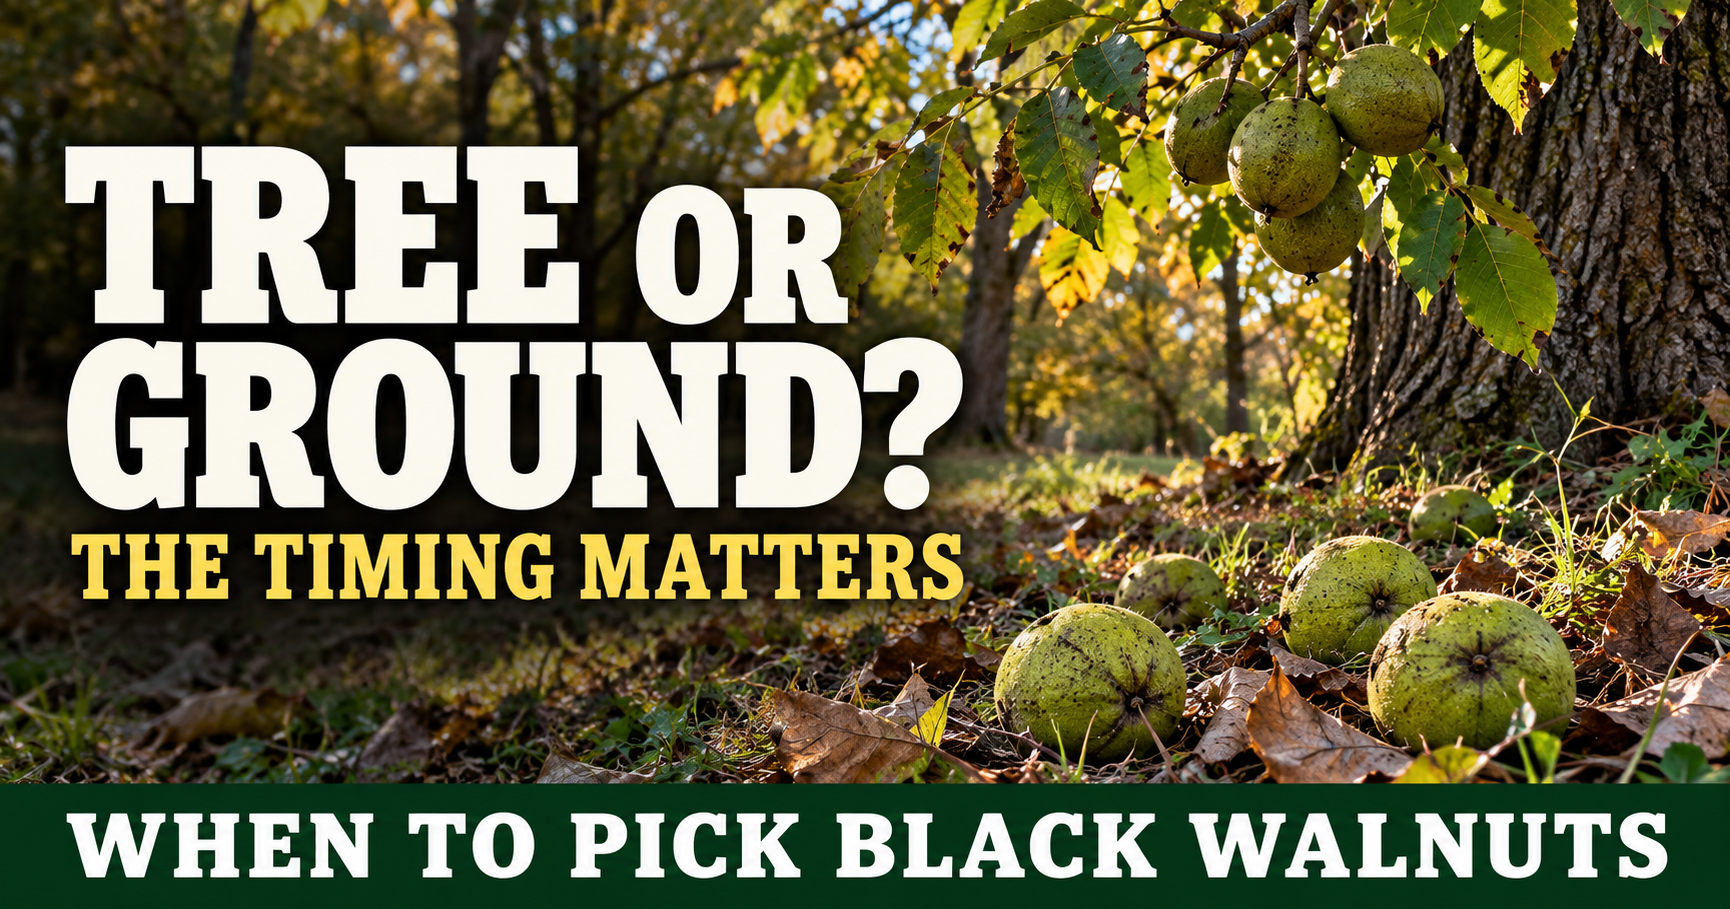
If you’re still trying to decide when to gather walnuts, I’d recommend reading Should You Pick Black Walnuts Off the Tree or the Ground? Here’s What I Do first. Harvest timing makes the rest of the process much easier.
Don’t Wait Too Long
One mistake I try not to make is letting harvested walnuts sit in a pile for too long.
The longer the hull stays wrapped around the nut, the softer and messier it usually becomes.
If I’ve gathered a good batch, I like getting started on them as soon as I reasonably can.
That doesn’t mean I rush through the job.
It simply means I don’t leave buckets sitting for weeks before processing them.
Wear Gloves You Don’t Care About
If there’s one piece of advice I’d give anyone processing black walnuts for the first time, it’s this.
Wear gloves.
Not your favorite gloves.
Not thin disposable gloves that tear the first time you grab a walnut. A pair of durable leather work gloves can provide more protection for messy walnut processing.
A sturdy pair that you don’t mind staining.
Black walnut hulls contain natural pigments that can leave dark stains on your skin for days.
I’ve learned it’s much easier to prevent those stains than try to scrub them off afterward.


My Goal Is Simple
When I’m removing hulls, I’m trying to accomplish one thing.
Separate the nut from the thick green outer covering without damaging the shell underneath.
The shell protects the nut meat inside, so I don’t want to crack it during this step.
That means taking my time instead of trying to rush through a bucket as fast as possible.
Several Methods Work
One thing I discovered is that there isn’t just one correct way to remove black walnut hulls.
People use all kinds of methods.
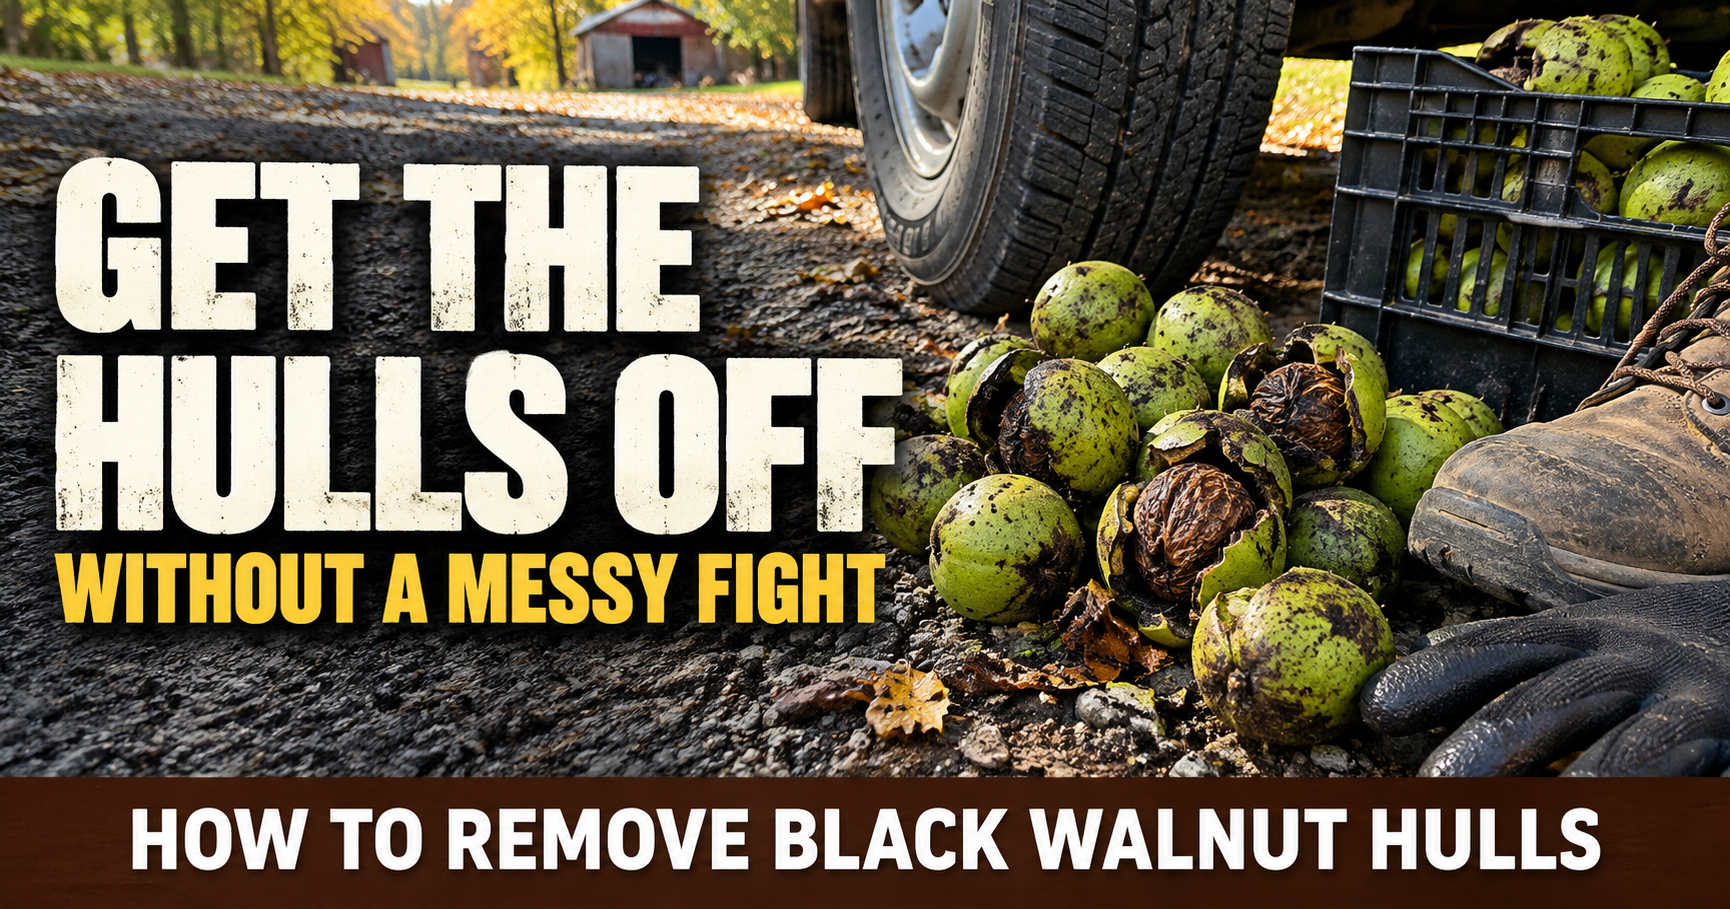
Some drive over the walnuts with a vehicle.
Others use homemade hulling tools.
Some use boots to roll the hulls loose.
Others use specialized machines.
The best method is often the one that matches how many walnuts you’re processing.
For someone with only a small bucket, a simple manual method may be all that’s needed.
For someone harvesting hundreds or thousands of walnuts, investing in equipment starts making much more sense.

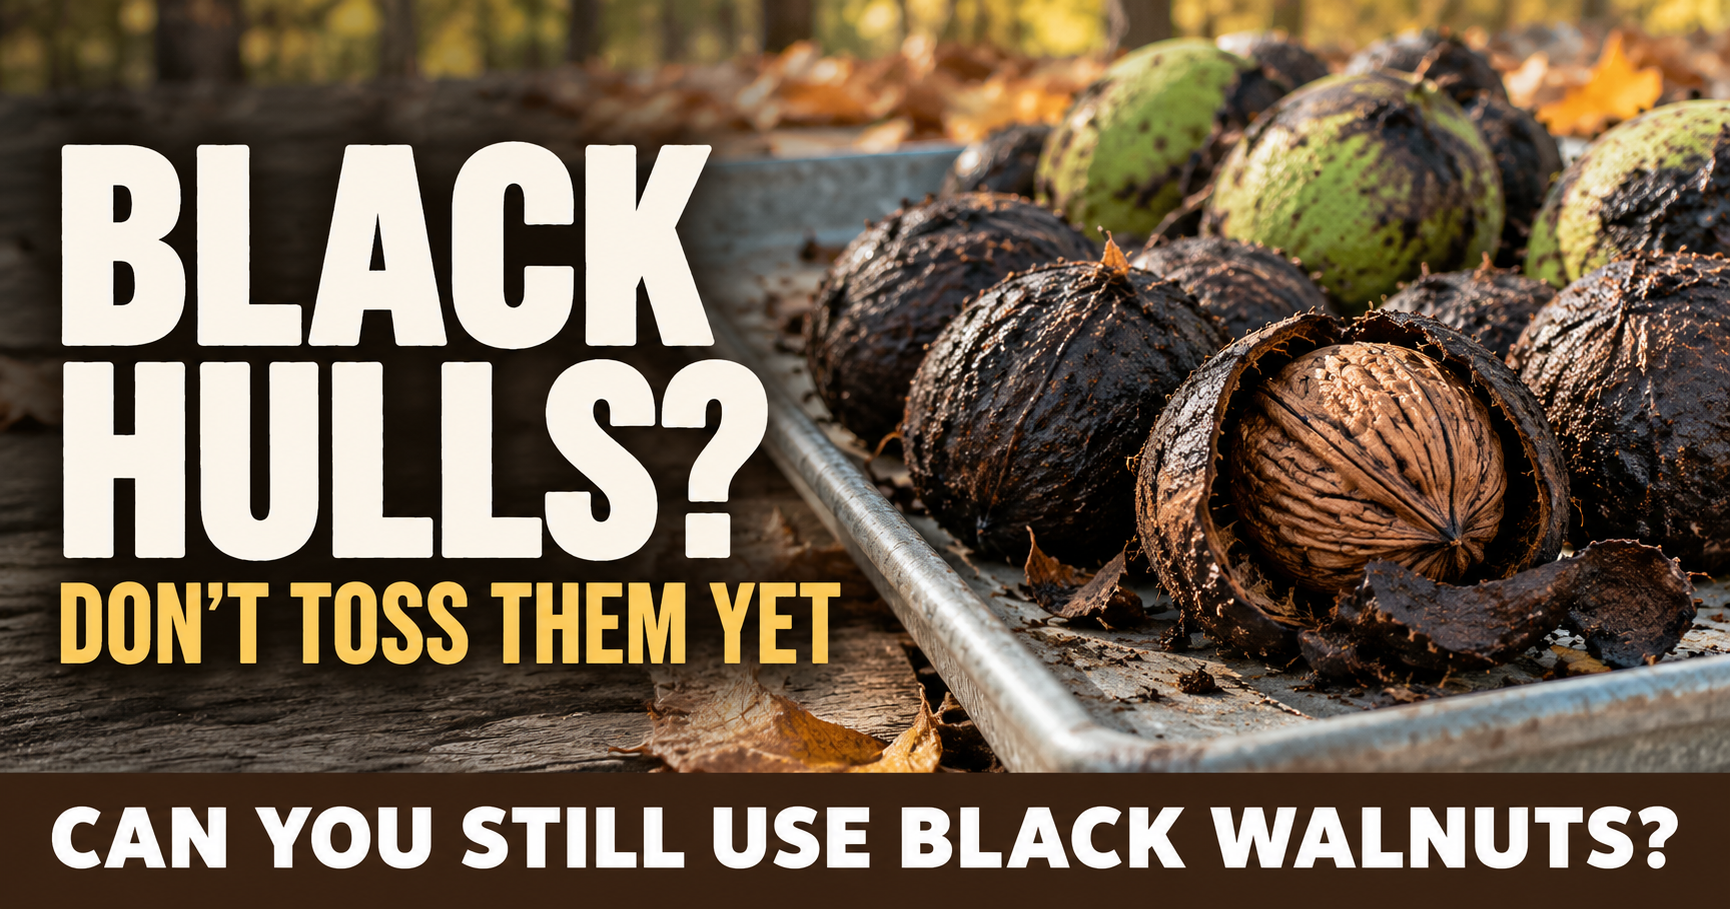

Expect the Job to Get Messy
There’s really no way around it.
Black walnut hulling isn’t a clean job.
The hulls quickly release a dark juice that stains almost everything it touches.
That’s one reason I like working outside where cleanup is much easier.
I also avoid wearing clothing I care much about because splashes happen whether I plan on them or not.
Throw Away Bad Walnuts Early
While removing hulls, I pay attention to what each walnut looks like.
If one feels unusually light, has obvious insect damage, or looks badly deteriorated, I don’t waste time processing it further.
I’d rather spend my effort on the healthy nuts than carry questionable ones through the entire drying process.
Rinse the Shells
Once the hulls are removed, I like rinsing the shells to wash away as much of the remaining pulp as possible.
They don’t need to look spotless.
I’m simply trying to remove most of the sticky material clinging to the shell.
This also makes handling them during drying much more pleasant.
Drying Is Just as Important as Hulling
Removing the hull isn’t the end of the process.
In many ways, it’s only the beginning.
Freshly hulled black walnuts still contain a lot of moisture.
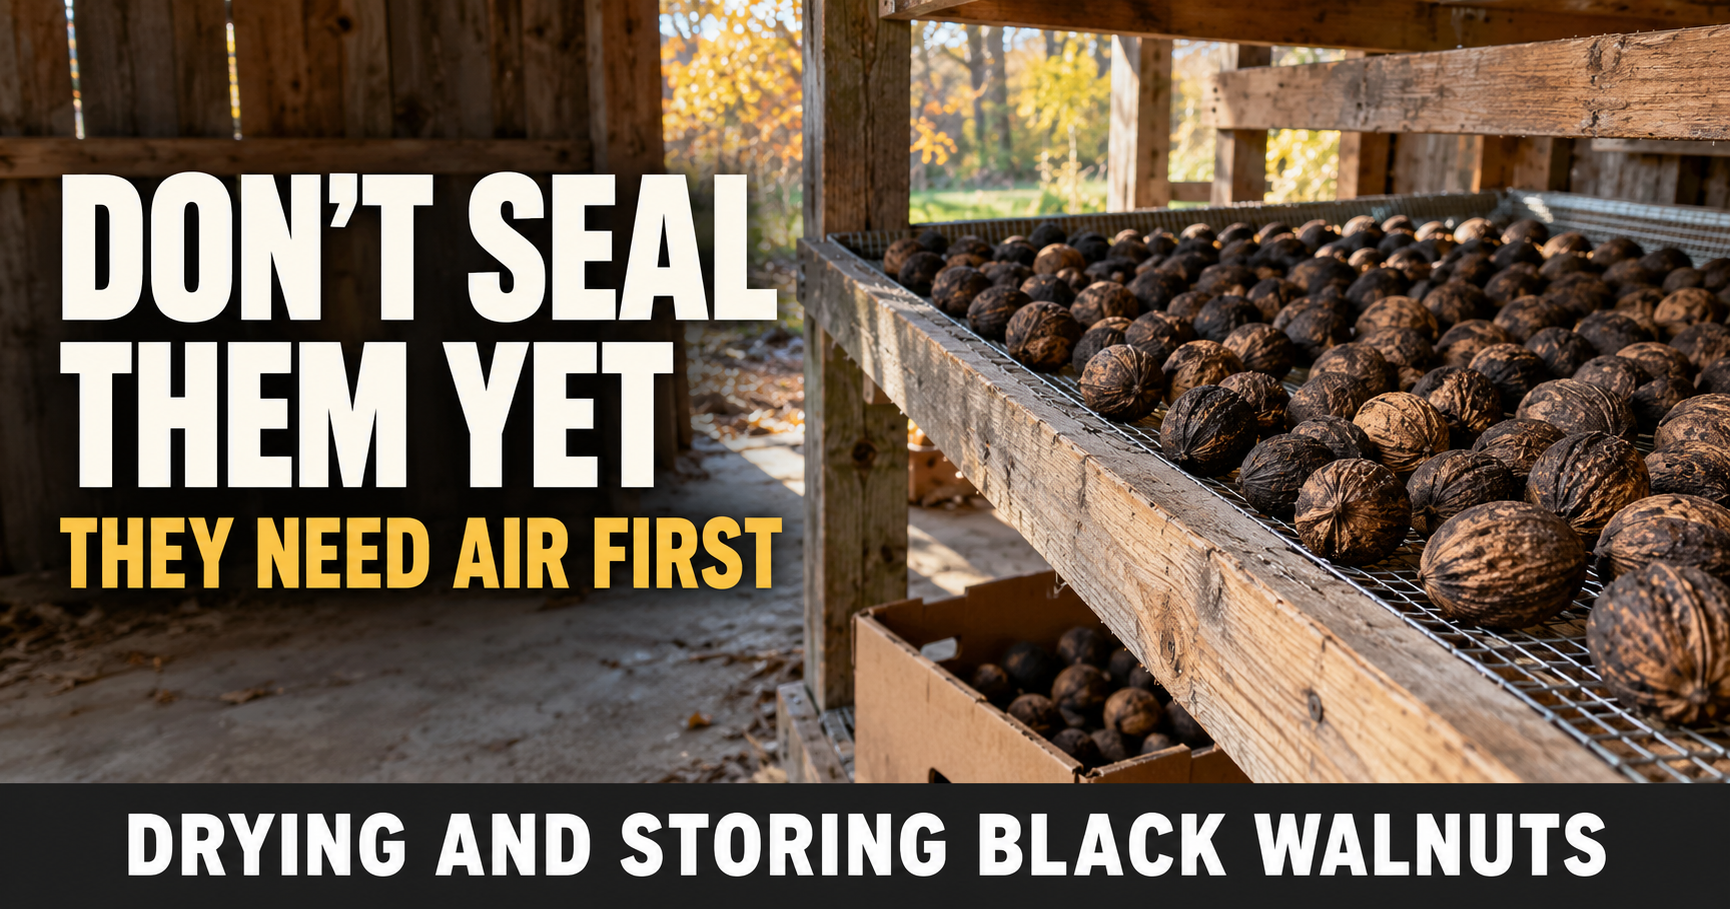
Proper drying helps prepare them for long-term storage and gives the nut meats time to develop their best quality.
I’ll cover that process in much more detail in my article about drying and storing black walnuts because it’s an important step that deserves its own guide.
One Thing I Learned Quickly
The first few black walnuts always take the longest.
You’re figuring out what works.
Learning how much pressure to use.
Trying to avoid making an even bigger mess.
Before long, though, you develop a rhythm.
The job becomes much faster, and you stop overthinking every walnut.
My Honest Opinion
If someone asked me what the hardest part of harvesting black walnuts is, I’d probably say removing the hulls.
Not because it’s difficult.
Because it’s messy.
Once you accept that, the job becomes much more enjoyable.
A good pair of gloves, a little patience, and a willingness to get dirty go a long way.
For me, that’s simply part of black walnut season.
The mess only lasts a day or two.
The reward lasts much longer.
About the Author
Daxon Weaver is the owner of Weaver Family Farms Produce, where he shares firsthand experiences growing fruit, harvesting black walnuts, and helping others enjoy homegrown food on his family’s Zone 6a Missouri farm.