
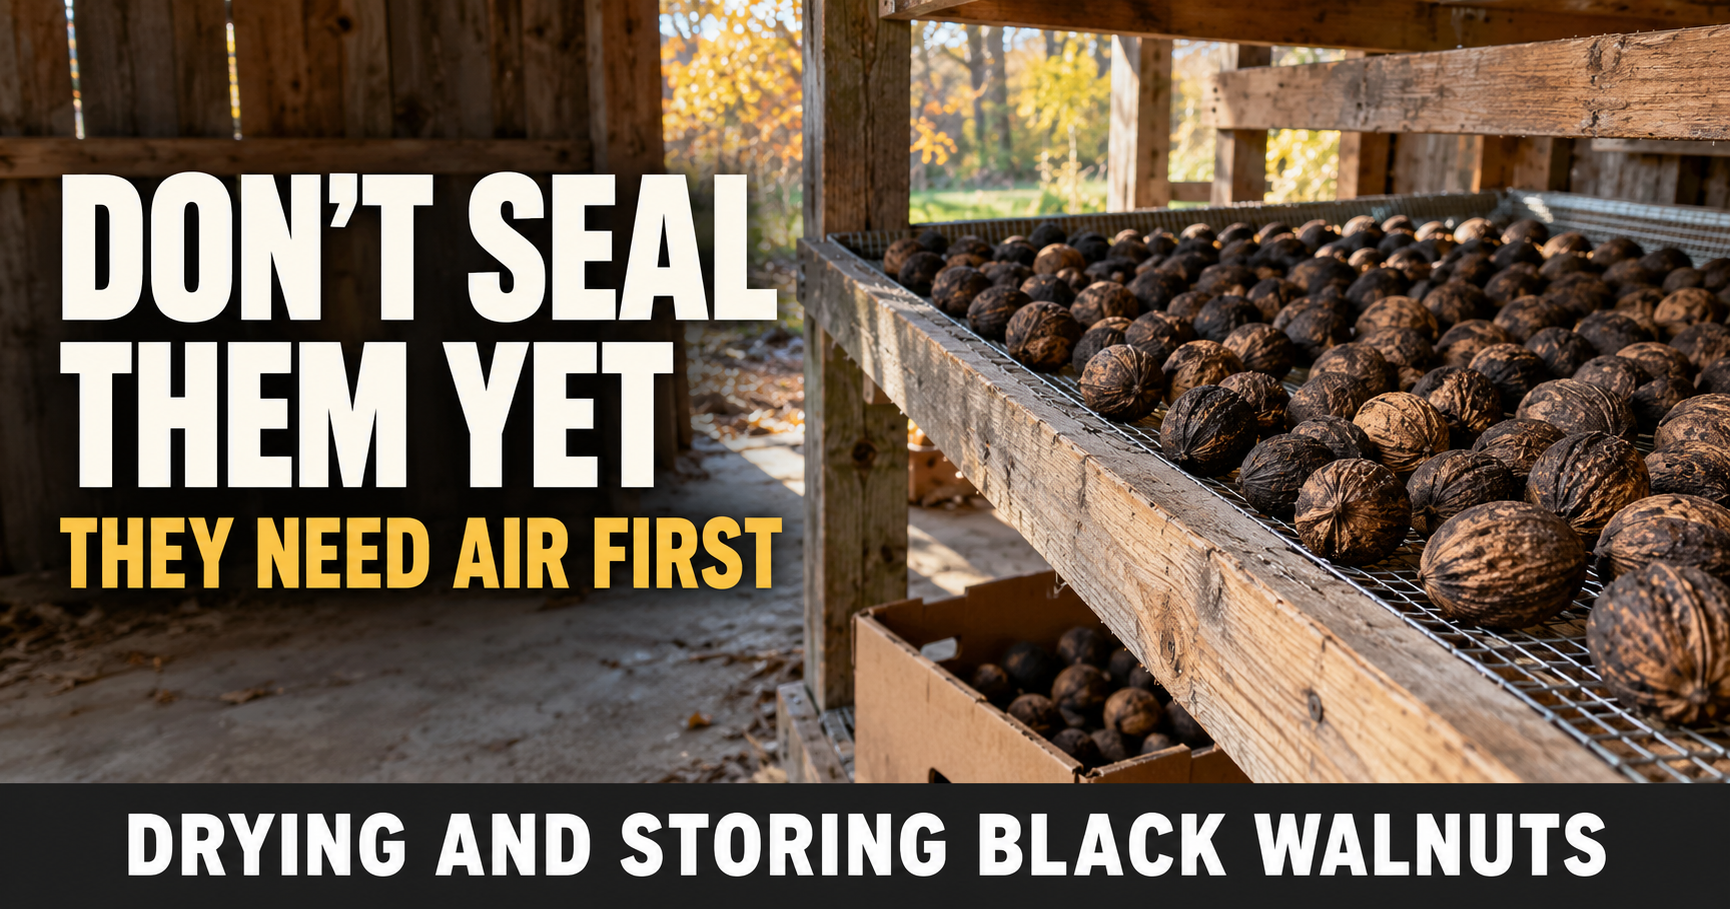
Harvesting black walnuts is exciting.
Removing the hulls is messy.
Then comes the part that surprised me the most.
You don’t usually crack them open right away.
When I first started paying attention to black walnuts growing around our farm, I assumed the hard part ended once the green hulls were gone.
Instead, I learned that drying, or curing, the nuts is one of the most important steps in the entire process.
Skipping it can affect both flavor and how well the nuts crack later.
Here’s how I handle black walnuts after harvest and why I don’t rush this stage.
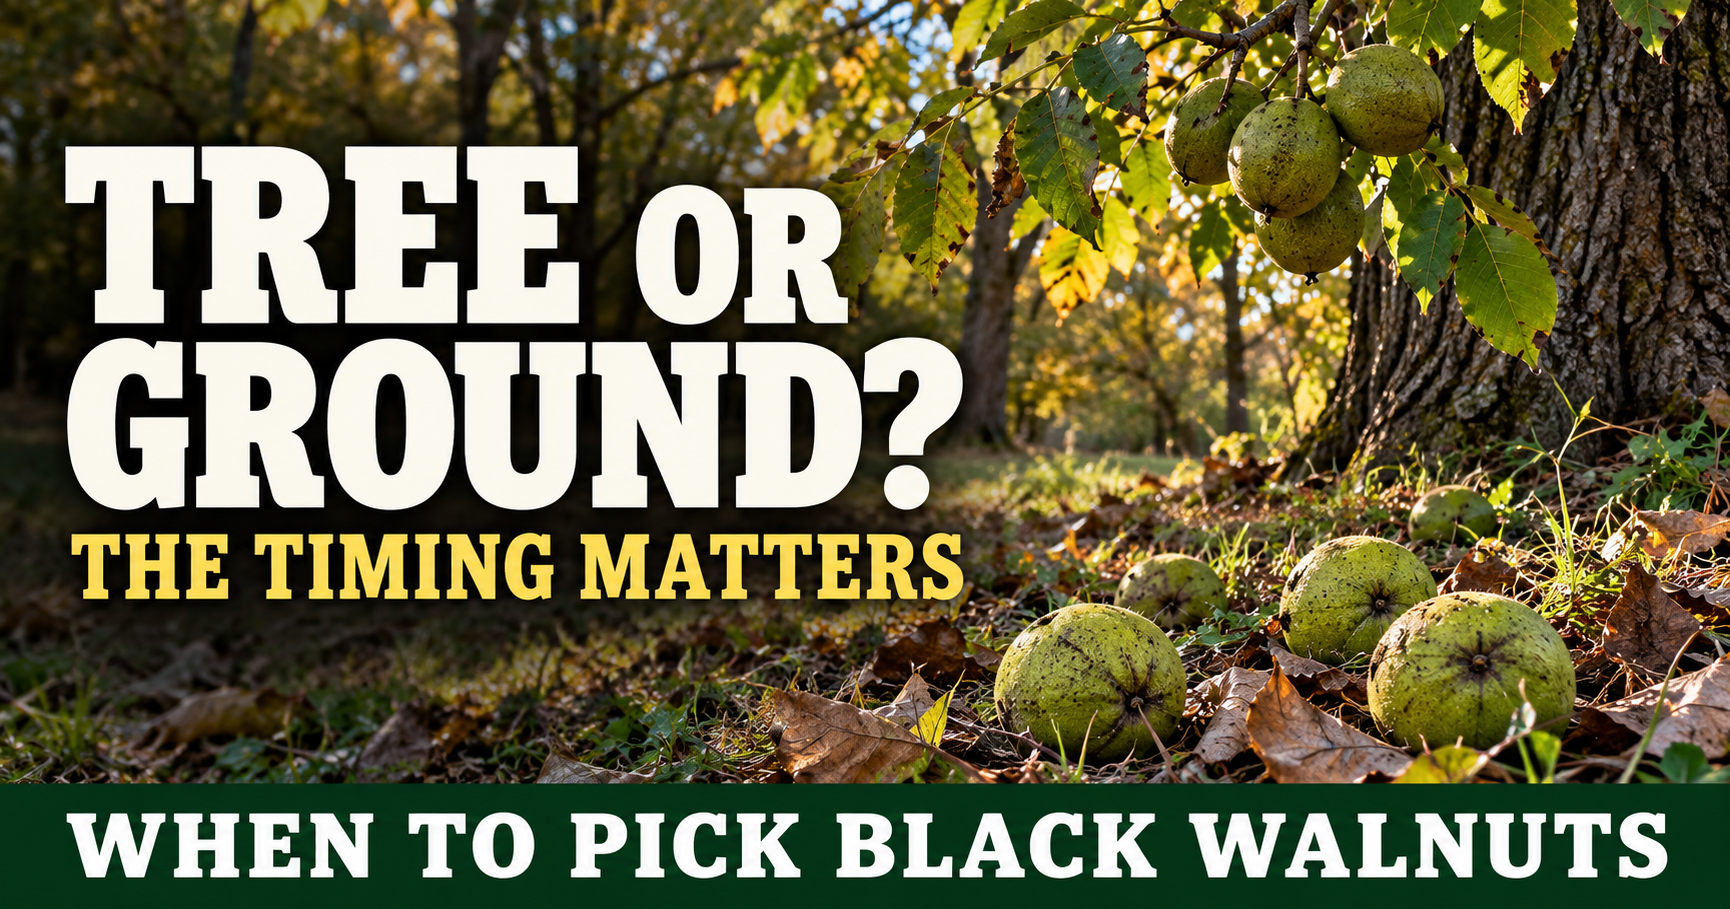
If you’re still collecting walnuts from your trees, I’d recommend reading Should You Pick Black Walnuts Off the Tree or the Ground? Here’s What I Do first. Harvest timing makes the rest of the process much easier.
Don’t Skip the Drying Step
It can be tempting to start cracking walnuts as soon as the hulls come off.
I understand the excitement.
After spending time gathering, hulling, and washing them, you finally want to enjoy the reward.
But black walnuts benefit from a curing period.

Drying helps reduce excess moisture inside the shell, improves flavor, and often makes the kernels separate from the shell more cleanly when it’s finally time to crack them. Extension specialists generally recommend curing black walnuts for 2 to 3 weeks after hulling and washing. Once the walnuts are cured, crack black walnuts without smashing the nut can help you preserve more usable nutmeat.
I Wash the Nuts First
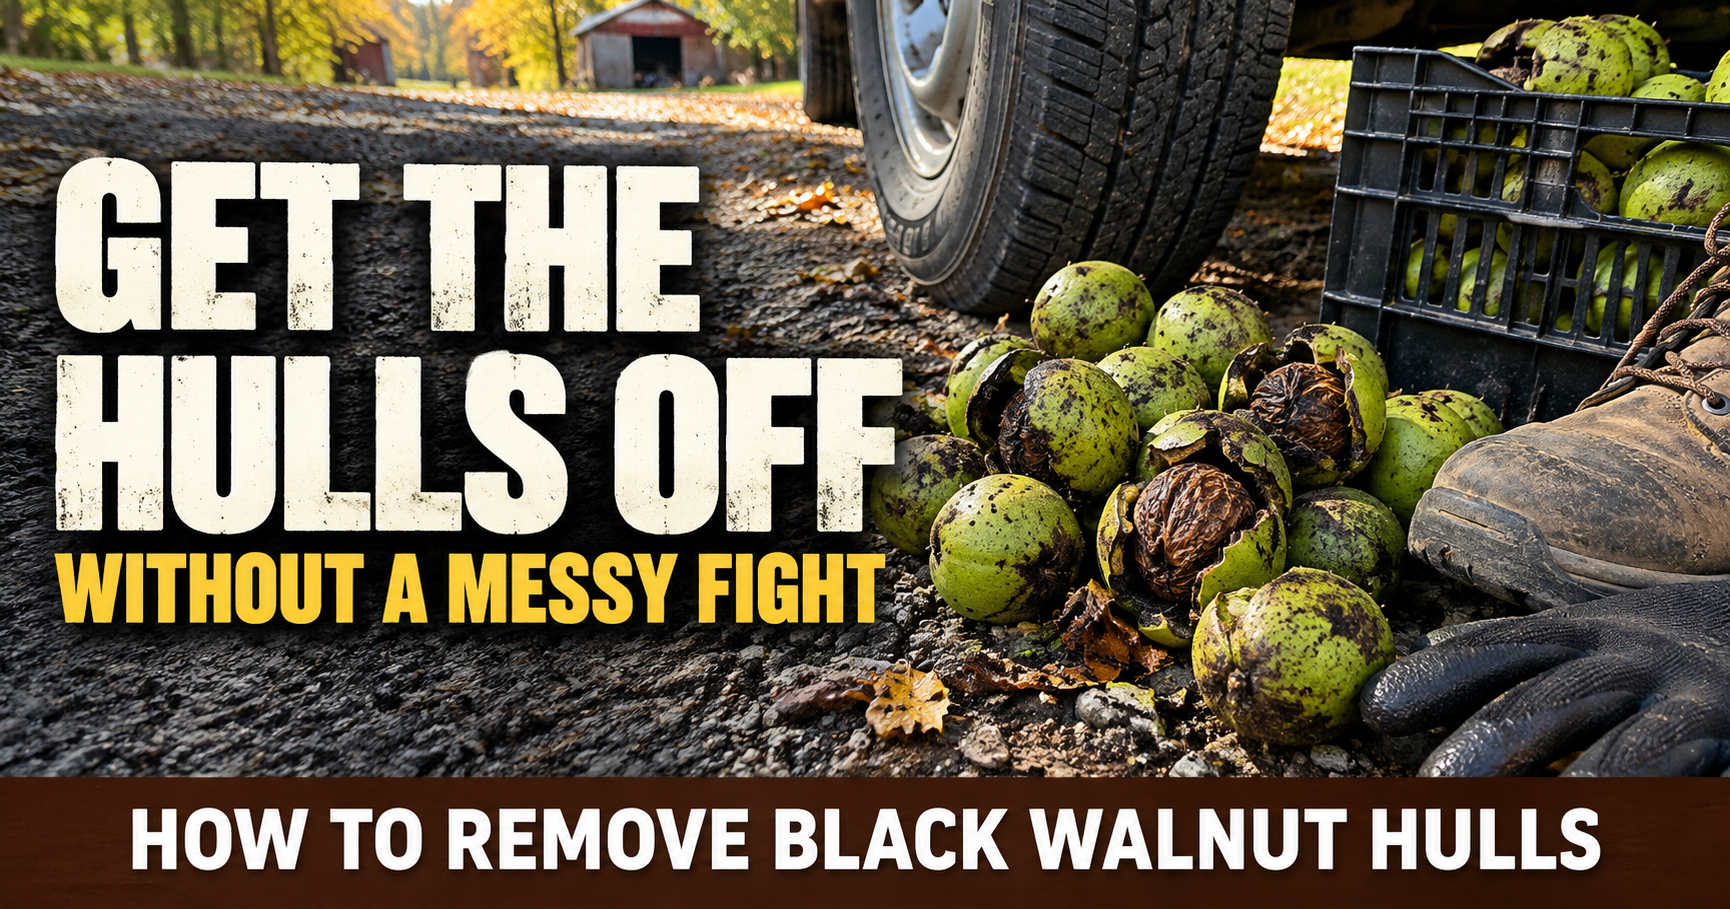
After removing the hulls, I don’t immediately spread the walnuts out to dry. If you're still working through that earlier step, this removing black walnut hulls explains the process before curing begins.
First, I give them a good rinse.
The goal isn’t to make them look perfect.
I’m simply washing away leftover pieces of hull along with some of the dark staining juice.
At the same time, I pay attention to the nuts themselves.
If one looks badly damaged or unusually light, I’ll set it aside rather than spending weeks drying a walnut that probably isn’t worth cracking later.

The Float Test Is Worth Doing
One trick I learned is surprisingly simple.
After washing the walnuts, I place them in a bucket of water.
Many poorly filled or empty walnuts float.
Well-filled walnuts usually sink.
It’s not a perfect test, but it’s a quick way to eliminate many of the obvious duds before they take up space during drying. Iowa State Extension recommends this same approach after washing.
Airflow Is More Important Than Heat
One thing I wouldn’t do is try to speed everything up with high heat.
Black walnuts don’t need to be baked dry.
They need good airflow.
I spread them in shallow layers where air can circulate around them.
A cool, dry garage or shed usually works well.
The goal isn’t to cook the walnuts.
The goal is to let moisture leave slowly and naturally.



Don’t Pile Them in a Bucket
This is one mistake I could easily see people making.
After all the work of gathering walnuts, it’s easy to leave them sitting in a five-gallon bucket while you figure out what to do next.
I try not to do that.
Walnuts piled deeply together trap moisture.
Trapped moisture encourages mold.
Instead, I spread them out in shallow layers so air can reach all sides.
Extension publications recommend keeping them no more than about three nuts deep while drying.
A Screen Works Better Than a Solid Surface
One thing I’ve come to appreciate is using something that allows air to move underneath the walnuts too.
Wire shelving.
Hardware cloth.
A drying screen.
Those all work much better than laying the walnuts directly on concrete or a tarp.
The better the airflow, the more evenly they dry.
I Turn Them Occasionally
This isn’t something I obsess over.
But every few days I’ll move the walnuts around a little.
Turning them helps expose different sides to the air and gives me a chance to look for any that may have developed mold or other problems.
It’s also a good reminder that the curing process is still moving along.
Patience Makes a Difference
This seems to be the theme with so many things we grow.
Fruit takes patience.
Trees take patience.
Black walnuts do too.
Most extension services recommend letting them cure for at least two to three weeks, and some growers wait even longer depending on conditions.
I’ve found it’s much easier to wait a little longer than to wish I had.

How I Know They’re Ready
I don’t use a moisture meter.
Instead, I keep things simple.
After they’ve cured for a few weeks, I’ll crack one open.
If the kernel looks healthy, has good flavor, and the shell breaks cleanly, I know the batch is probably ready.
Checking one nut tells me far more than guessing based on the calendar.
Where I Store Them
If I won’t be cracking the walnuts right away, I keep them in-shell.
I like storing them somewhere that’s:
- Cool.
- Dry.
- Well ventilated.
- Protected from rodents.
Mesh onion bags work well because they continue allowing airflow while making the walnuts easy to move around.
I avoid sealed plastic containers for in-shell walnuts because trapped moisture can create problems.
What About the Nutmeats?
Once the walnuts are cracked and the kernels removed, my storage routine changes.
The natural oils inside black walnuts can become rancid if they’re left at room temperature too long.
For long-term storage, I prefer freezing the nutmeats.
Frozen kernels hold their quality remarkably well and are ready whenever I need them for baking or cooking. Iowa State Extension recommends freezing shelled kernels for the longest storage life.
The Biggest Lesson I’ve Learned
When I first started paying attention to black walnuts, I thought harvesting was the hard part.
Now I think drying deserves just as much attention.
A little patience after harvest helps protect all the work that went into gathering, hulling, and cleaning the nuts.
Sometimes the simplest steps end up making the biggest difference.
My Honest Opinion
If I could give someone one piece of advice after harvesting black walnuts, it would be this.
Don’t rush to crack them.
Give them time to cure.
Find a cool, dry place with good airflow.
Check on them every so often.
Then let nature do the rest.
Growing and harvesting food has taught me that some of the best results come from slowing down instead of trying to hurry the process.
Black walnuts are no exception.
About the Author
Daxon Weaver is the owner of Weaver Family Farms Produce, where he shares firsthand experiences growing fruit, harvesting black walnuts, and helping others enjoy homegrown food on his family’s Zone 6a Missouri farm.